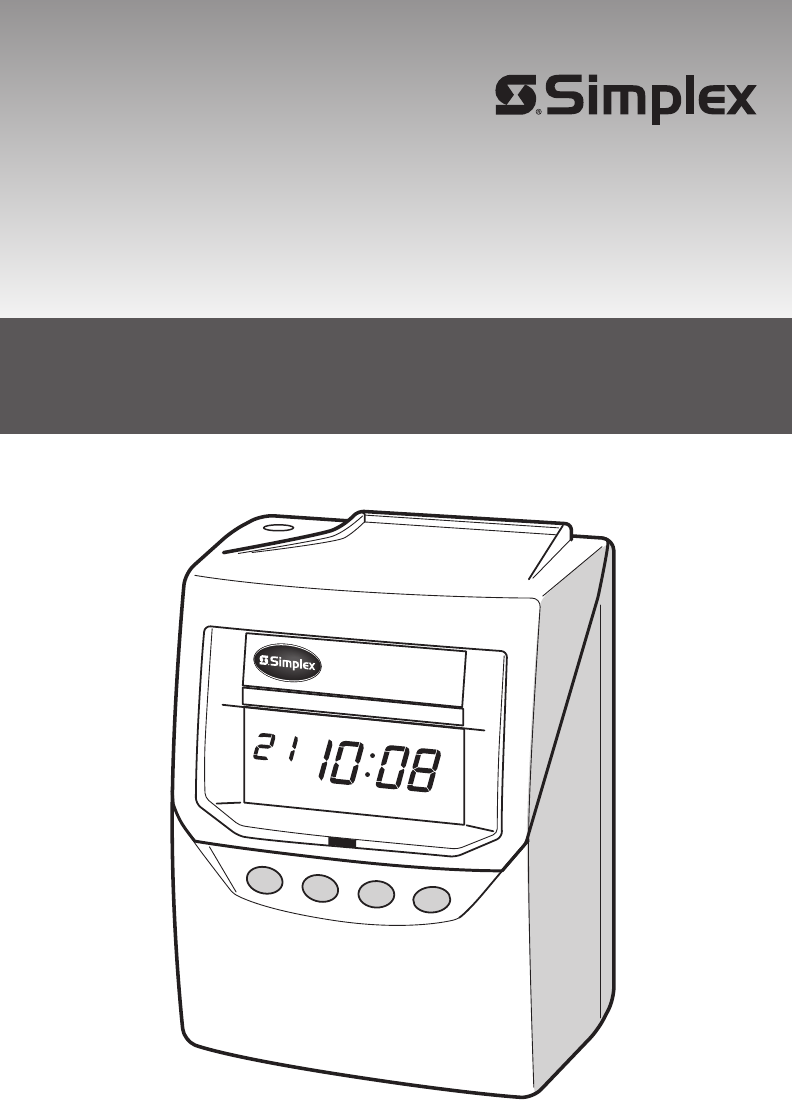
Simplex EP800 Manual do Utilizador
Consulte online ou descarregue Manual do Utilizador para Relógios de parede Simplex EP800. Simplex EP800 User`s manual Manual do Utilizador
- Página / 50
- Índice
- MARCADORES
- USER’S MANUAL 1
- TABLE OF CONTENTS 2
- 1. INTRODUCTION 4
- 2. QUICK SETUP 6
- Setting the Display Hours 8
- ADVANCED SETTINGS CONTENTS 10
- DEFAULT SETTINGS 10
- Wall Mount Template 12
- Template for wall mounting 12
- 3. ADVANCED SETTINGS 14
- Set the "Mode" 16
- Starting date 18
- FUNCTION CHANGE 20
- ROUNDING 24
- (continued) 26
- SU TU WE TH FR SAMO 36
- Resetting Settings 38
- CHANGE SET 40
- 1950-4301 42
- (Optional) 44
- 8. Warnings & Cautions 46
- 9. SPECIFICATIONS 48
- Warranty 49
- MC109-151-614 50
- Q0281-61200 50
Resumo do Conteúdo
ENGLISH1EP800USER’S MANUAL
158ADVANCED SETTINGS CONTENTS24 hour, for example, 14:55Central, Mountain, or PacificAdjust only minute and seconds by WWVBNo adjustment by WWVBPayrol
158ADVANCED SETTINGS CONTENTS24 hour, for example, 14:55Central, Mountain, or PacificAdjust only minute and seconds by WWVBNo adjustment by WWVBPayrol
159WallWall Mount TemplateScrewsLevel LineWall Mount TemplateTemplate for wall mountingPlease copy and use this page when needed. Leave about 1/8"
159WallWall Mount TemplateScrewsLevel LineWall Mount TemplateTemplate for wall mountingPlease copy and use this page when needed. Leave about 1/8"
1312113In the example, push the SET button because the year 2009 is not to be changed. Now the year of 2009 has been set.At that moment, the f
1312113In the example, push the SET button because the year 2009 is not to be changed. Now the year of 2009 has been set.At that moment, the f
221314You have completed this setting. Go to the next setting listing in"Default Settings" on page 7 to continue with the setup.Setting Wee
221314You have completed this setting. Go to the next setting listing in"Default Settings" on page 7 to continue with the setup.Setting Wee
221316You have completed this setting. Go to the next setting listing in"Default Settings" on page 7 to continue with the setup.Setting Bi-
221316You have completed this setting. Go to the next setting listing in"Default Settings" on page 7 to continue with the setup.Setting Bi-
TABLE OF CONTENTSINTRODUCTION Accessories FeaturesQUICK SETUP Installing Ribbon Cassette Display Hours Time Zone Default Settings
221718You have completed this setting. Go to the next setting listing in"Default Settings" on page 5 to continue with the setup.Job Cost Mo
221718You have completed this setting. Go to the next setting listing in"Default Settings" on page 5 to continue with the setup.Job Cost Mo
2219204In this case, push the CHANGE button to set at "1" and then push the SET button. At that moment, the flashing of the d
2219204In this case, push the CHANGE button to set at "1" and then push the SET button. At that moment, the flashing of the d
222122You have completed this setting. Go to the next setting listing in"Default Settings" on page 7 to continue with the setup.3In the ca
222122You have completed this setting. Go to the next setting listing in"Default Settings" on page 7 to continue with the setup.3In the ca
222324Setting the Auto Break Deduction (continued)ExampleElapsed time ----- 8 hours Break duration ----- 60 min.3Push the SET button. At that mo
222324Setting the Auto Break Deduction (continued)ExampleElapsed time ----- 8 hours Break duration ----- 60 min.3Push the SET button. At that mo
222526Setting the Button Function (In/Out)You can select one of three functions for the buttons.OptionalWhen the time card is inserted, the rec
222526Setting the Button Function (In/Out)You can select one of three functions for the buttons.OptionalWhen the time card is inserted, the rec
TABLE OF CONTENTSINTRODUCTION Accessories FeaturesQUICK SETUP Installing Ribbon Cassette Display Hours Time Zone Default Settings
222728Setting the Daylight Savings Time Today (present day)Starting date of Daylight Savings TimeEnding date of Daylight Savings TimeWednesday,January
222728Setting the Daylight Savings Time Today (present day)Starting date of Daylight Savings TimeEnding date of Daylight Savings TimeWednesday,January
222930Set the "ending date".6Next, push the SET button. At that moment, the flashing changes "Year" to "Month".7
222930Set the "ending date".6Next, push the SET button. At that moment, the flashing changes "Year" to "Month".7
223132You have completed this setting. Go to the next setting listing in"Default Settings" on page 7 to continue with the setup.Setting the
223132You have completed this setting. Go to the next setting listing in"Default Settings" on page 7 to continue with the setup.Setting the
223334RADIO SIGNAL RECEPTION About Radio Signal ReceptionThe Model EP800 is programmed to see the WWVB radio signal everyday.Initially the
223334RADIO SIGNAL RECEPTION About Radio Signal ReceptionThe Model EP800 is programmed to see the WWVB radio signal everyday.Initially the
223536Resetting Cards In Job Cost ModeYou can reset the card without removing the cover when the time recorder is used under the following condition.T
223536Resetting Cards In Job Cost ModeYou can reset the card without removing the cover when the time recorder is used under the following condition.T
152INTRODUCTIONAbout Your Atomic ClockIn addition to a regular quartz time clock, the Model EP800 contains an antenna and a microchip.
223738CHANGE SET3After the numbers of cards are shown, in the example, insert the card "003" or push the CHANGE button to s
223738CHANGE SET3After the numbers of cards are shown, in the example, insert the card "003" or push the CHANGE button to s
223940Note:"S" is to indicate totals across daylight savings adjustment."*" is to indicate the following meanings. (1) Rounded
223940Note:"S" is to indicate totals across daylight savings adjustment."*" is to indicate the following meanings. (1) Rounded
2241427. TROUBLESHOOTINGError No. Causes and ActionsContact SimplexGrinnell. The front of the card must be completely filledin before using the back o
2241427. TROUBLESHOOTINGError No. Causes and ActionsContact SimplexGrinnell. The front of the card must be completely filledin before using the back o
2243448. Warnings & CautionsPlease follow all the instructions to avoid possible danger to yourself or others and damage to the unit.Do not disa
2243448. Warnings & CautionsPlease follow all the instructions to avoid possible danger to yourself or others and damage to the unit.Do not disa
2245449. SPECIFICATIONSClock accuracyCalendarPrinting systemDimensionsWeightRatingPower failure compensationPrint at power failureMemory capacityOpera
2245449. SPECIFICATIONSClock accuracyCalendarPrinting systemDimensionsWeightRatingPower failure compensationPrint at power failureMemory capacityOpera
152INTRODUCTIONAbout Your Atomic ClockIn addition to a regular quartz time clock, the Model EP800 contains an antenna and a microchip.
Corporate Sales and Marketing: 50 Technology Drive, Westminster, MA 01441-0001, Toll Free: 1-888-777-9237 Canada: 2400 Skymark Avenue, Mississauga
114ENGLISHInstall the ribbon cassette so that the ribbon is between the print head and the ribbon mask (see the figure on the lef
114ENGLISHInstall the ribbon cassette so that the ribbon is between the print head and the ribbon mask (see the figure on the lef
Setting the Time Zone for Atomic Clock Function225 6The Model EP800 can be set to one of the four United States time zones. Additionally, two more o
Setting the Time Zone for Atomic Clock Function225 6The Model EP800 can be set to one of the four United States time zones. Additionally, two more o
Manuais e produtos relacionados com Relógios de parede Simplex EP800
 (37 páginas)
(40 páginas)
(37 páginas)
(40 páginas)
© 2020, manymanuals-pt.com. Todos os direitos reservados. | 0.017 s |
 Manymanuals.com
 Manymanuals.de
 Manymanuals.fr
 Manymanuals.it
 Manymanuals.pl
 Manymanuals.cz
 Manymanuals.es
 Manymanuals-pt.com
Comentários a estes Manuais